Hosting a successful virtual chapter meeting

Calendar
Virtual meetings have risen in popularity since the coronavirus pandemic, and this has also happened in greek life, in situations such as chapter meetings. Let's learn about how to have a successful chapter meeting.
Setup
Setup can take up to an hour, and should be done at least a week in advance. Don't worry, once you get the hang of it, the timing can drop to as low as 5 minutes. First, need to have a platform to host the virtual meeting (such as Zoom, Teams, or Google Meet). Each platform has its benefits and drawbacks, so try out each one to determine what's best for you and your organization.
Meeting Creation
To create the meeting, go to your platform of choice and then create a meeting for the date and time you will be using. Make sure to grab a link to access the meeting, we will use this later. Also, check to see if there's a password that is needed to access the meeting.
It's the best practice to try using the link before sharing to make sure that it works
Event Creation
Here's where Greek Connect comes in. Our advanced calendar system will allow you to easily inform the relevant people about the meeting.
Calendar Screen
Let's start by opening up the app, and then:
- Use the navigation bar to access the calendar screen
- Select the date that you want to host the event, and then click the plus button to start creating the event
If you don't see the plus button, ask an admin of your organization to check your permissions
New Event Screen
Once you click the plus button, you are taken to the new event screen, where we can create the event through the following steps:
- Give the event a name
- Set the date and time for the event (note that the date was pre-populated from the previous screen)
- Input the location of the event into the venue name field (no address needed as this event is virtual)
- Add the link to join the meeting as a link and give the link some context with a name
- Add some email notifications for the event (members will only receive if they have the corresponding notifications turned on)
- Set the viewing permission for the event (if you don't allow new members to attend chapter, don't forget to remove them)
- Add some more details about the meeting that will be helpful to members
Make sure you select the proper time of day for the event as it's easy to mess up between AM and PM
New Event Screen (contd.)
- Turn on attendance tracking by using the switch, and then set the verification type - best option for this situation is a password that can be easily spoken
- Once attendance is toggled on, you can enable excuses - we recommend having the deadline end before the event starts so that you have time to respond to the requests before the event starts
- iCal sync allows members who can view the event to have it automatically sync with their calendar (requires user action to setup) - let's turn it on as everyone who can view the event should be in attendance
- Add categories as relevant to give context to the event for users
- Click create to finish making the event
Categories can be added through the calendar settings, but can only be done by admins
Member Communication
Now that you've setup this meeting, it's a good time to inform members of it. You have several options for how to do this, such as putting the event in your organization's newsletter, sharing the link with your chapter, or sending out an event email. For this tutorial, we are going to send out an event email.
Sending Email
View Event Screen
- Click the share button
Share Event Dialog
- Select the email tab
- Select collective (meaning the recipients will see the other recipients, and will be able to reply all)
- Select the checkbox so that it includes event information - this allows recipients to view the event and its details from the email
- Select visible members from the dropdown so that all members who can view the event will receive the email
- Update the subject to your liking
- Include any details you think will be beneficial for the recipients - such as information about excuses
- Preview your email to make sure it looks appropriate
- Once everything looks good to go, you can send your email
Excuses
Now that members are aware of the event, they might want to send in excuses if you turned this feature on.
View Event Screen
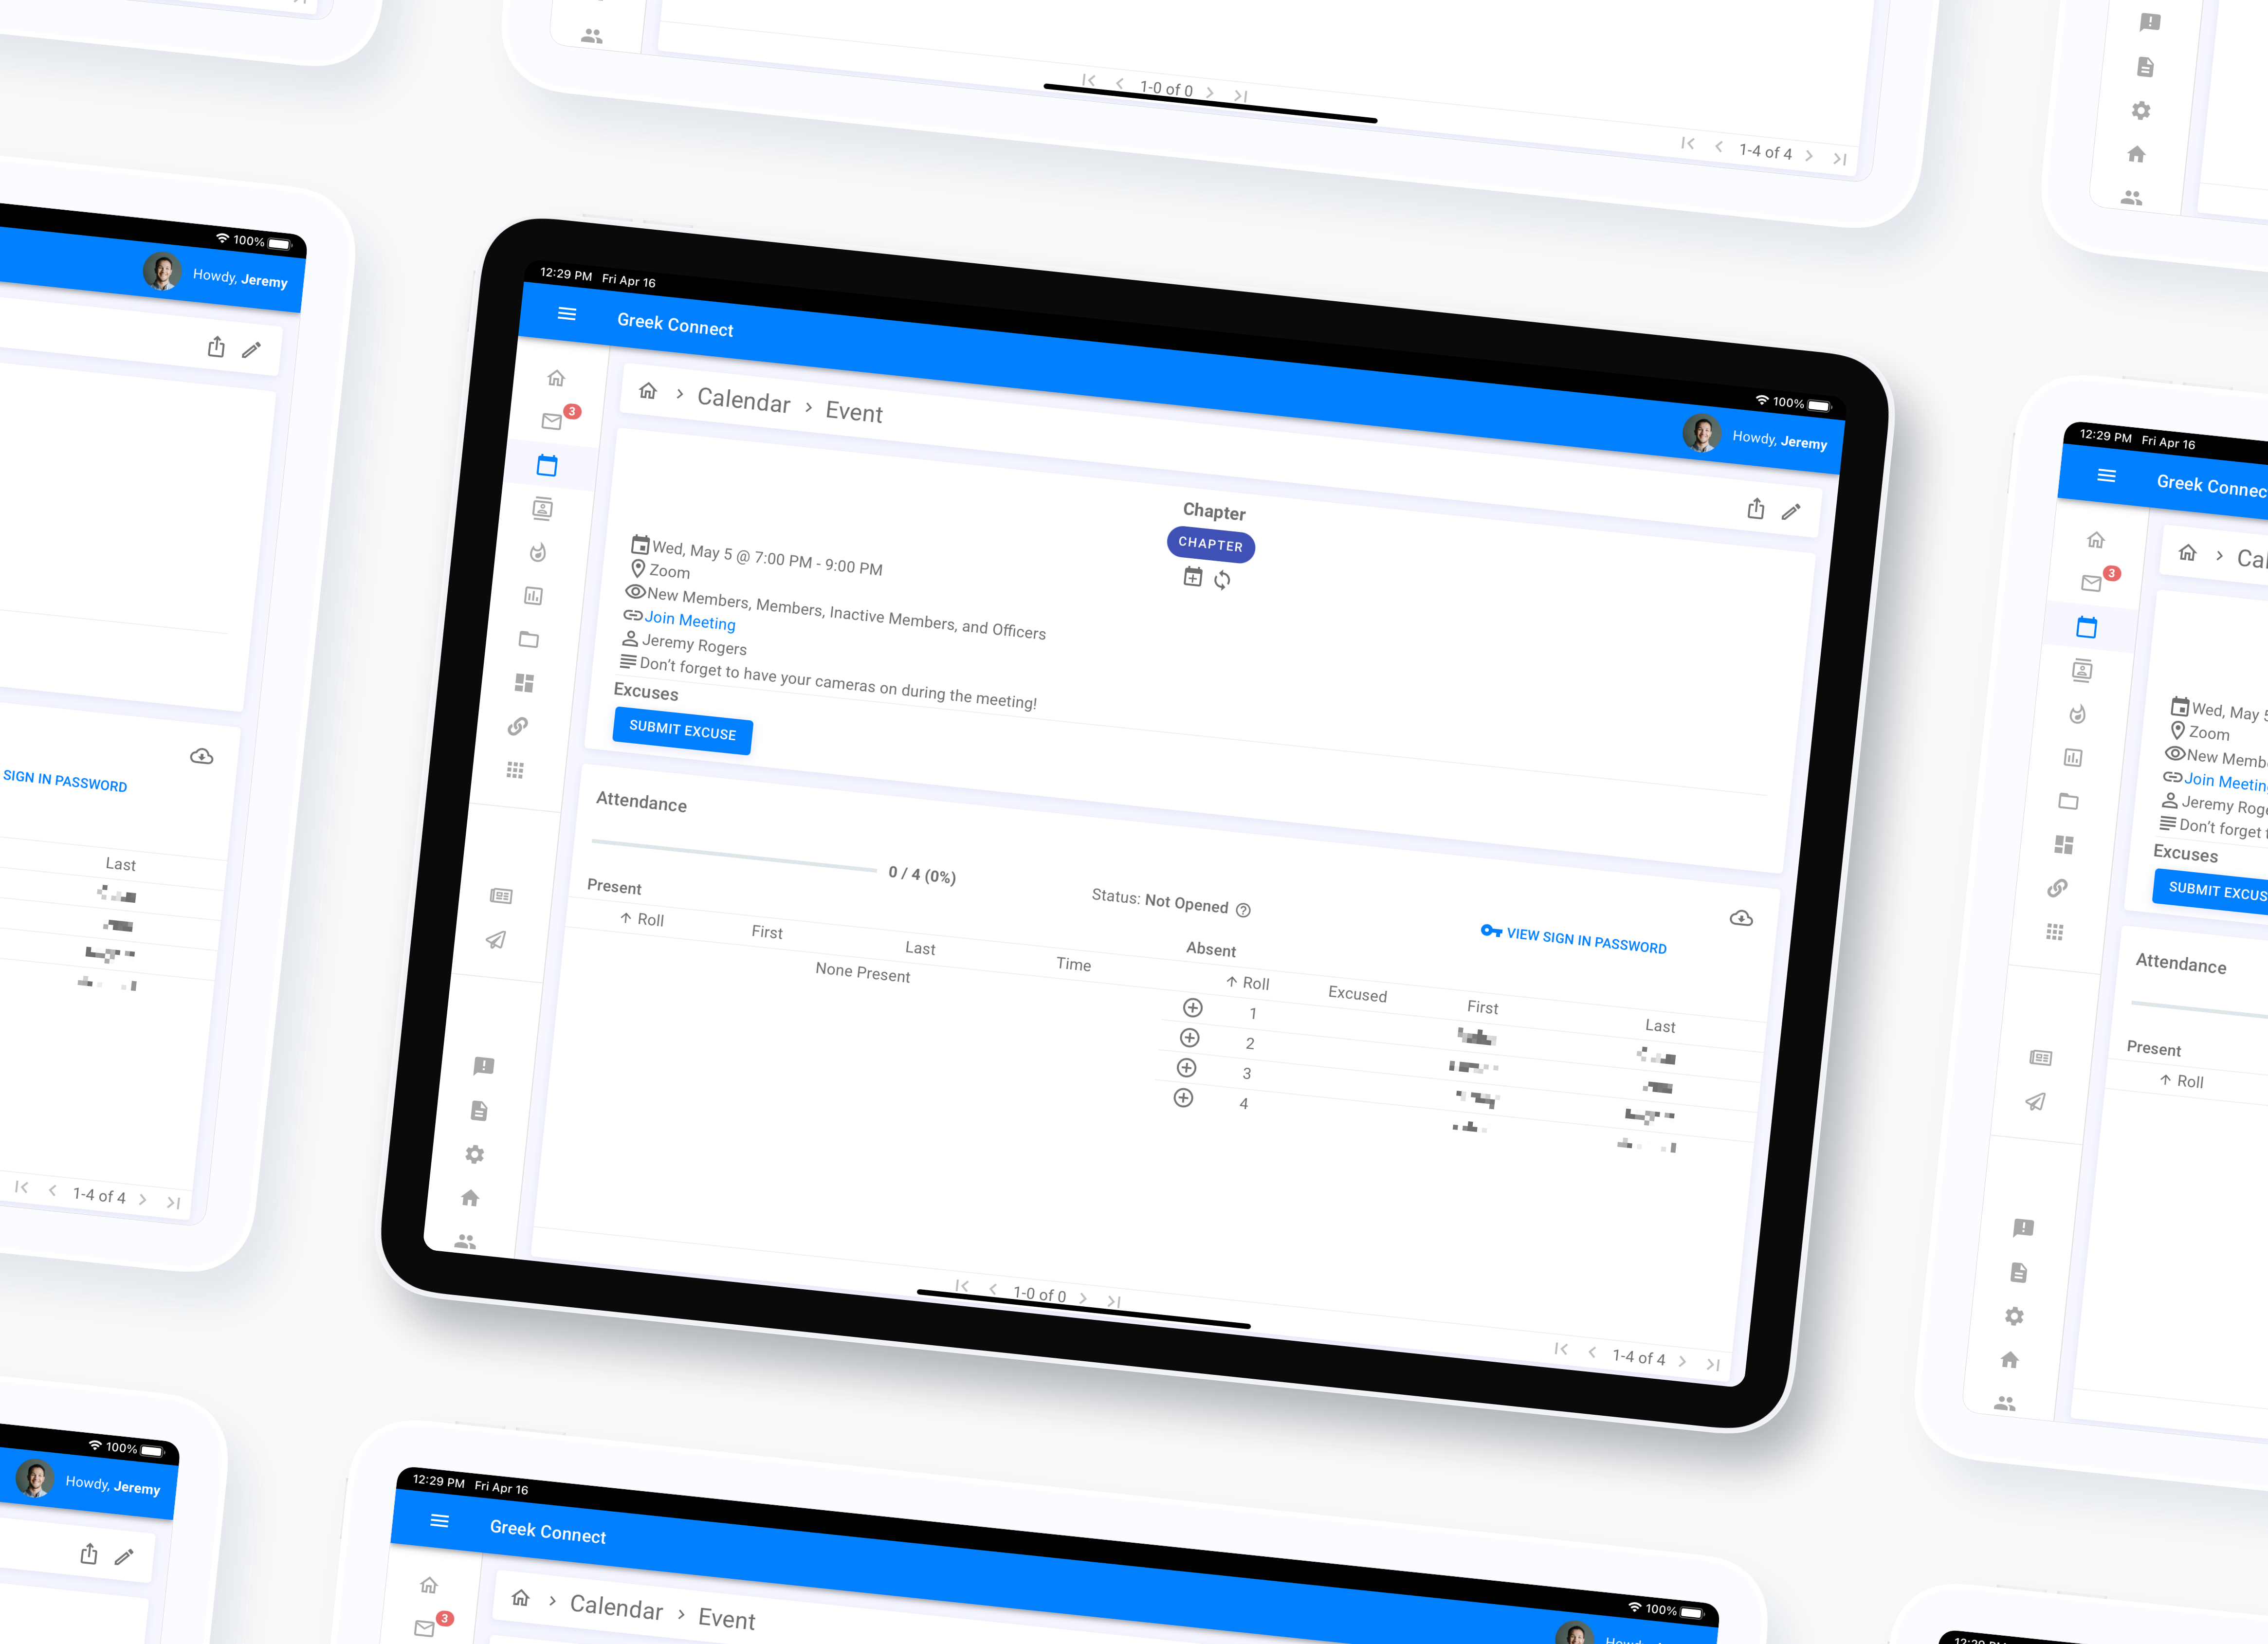
In the view event screen, we can actively see the situation with excuses, and can respond accordingly.
- The current status of excuses submissions (open or closed) is shown, allowing you to see if members can still submit excuses or not
- Member excuses appear after they submit and then you can either approve (thumbs up), deny (thumbs down), or remove (minus) them - once you approve or deny they will get an email (if turned on in their notifications settings) and then their result will be shown in the excused column
- If a member has an approved excuse, a checkmark will be shown next to their name if they are absent at the event
Attendance
Once the sign in opens, we will want to handle attendance.
View Event Screen
- You can see if the sign in is open or not based on the attendance status
- You can view the password to the event by clicking the view sign in password button
- You can see the overall progress by looking at the present percentage
- You can mark individual members as present if they are unable to sign in, or forgot to do so
- You can close sign in at any time using the x button, or download the sign in results as a csv
You can see what time members signed in by looking at the time column of the present table in attendance
Running the Meeting
The issues that come from virtual chapter mainly stem from not being in person together, but these issues can be mitigated by
- Having all members turn their cameras on
- Ensure that people have their microphones muted when not speaking
- Encourage gathering in small groups and effectively attend chapter in "pods"
- Use visuals such as a PowerPoint
- Add in humor wherever possible, this makes people want to pay attention
Closing
Thanks for reading and hopefully you have learned more about hosting a successful chapter meeting. You can also apply these instructions to almost any other meeting as well. If you have any questions feel free to reach out to your organization's representative or by using the contact us feature on this website!
